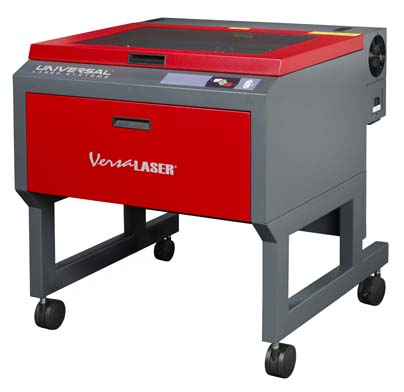
Universal Laser VLS60
Diagram
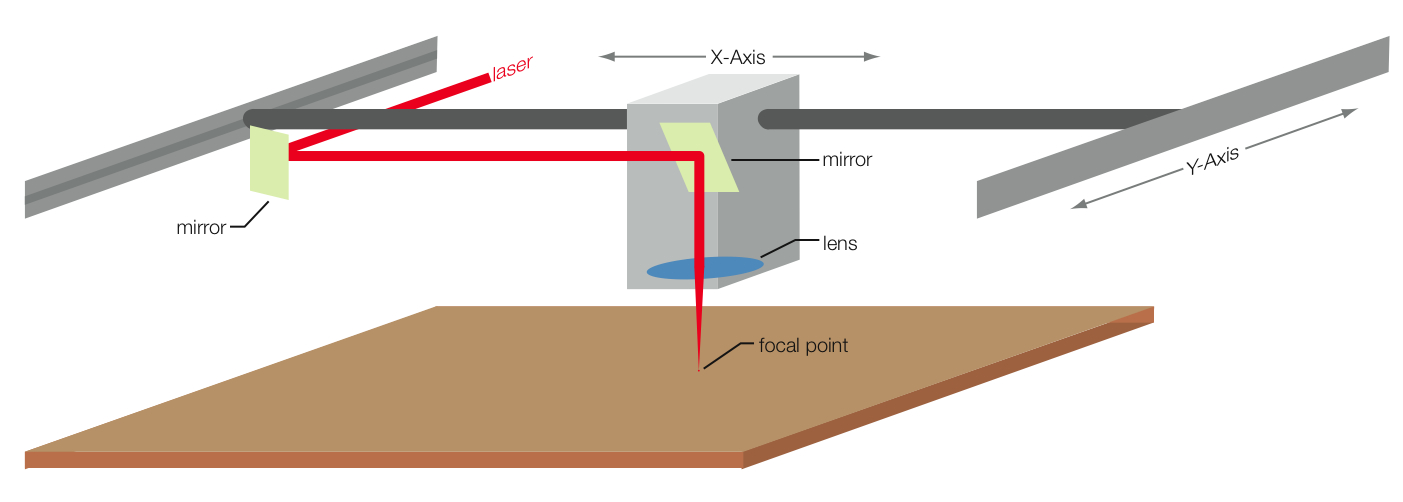
This is a basic diagram of how the laser cutter works:
3 ways to Process Material
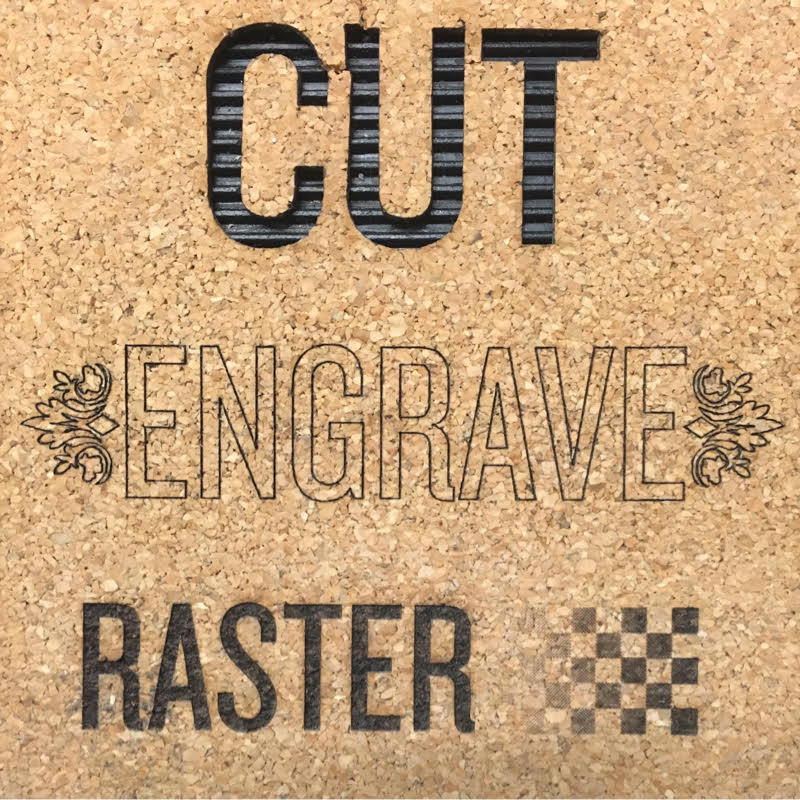
Vector Cut:
Vector lines cut all the way through a material, and are drawn as red lines (R=255, G=0, B=0).
Vector Engrave:
Vector lines that cut slightly into the surface of the material. It can be used to create text, graphics, or even texture on the surface of a material. Drawn as blue lines (R=0, G=0, B=255).
Raster:
Dot Matrix engraving of a hatch or pixelated image onto the surface of the material using variable intensity. This allows a black and white image to be created, where 100% black translates to 100% laser intensity, and 0% black translates to 0% intensity. Left as solid hatches/fills or images and best set to grayscale.
Since the machine has a Z-axis, you can specify how deep you want a path to be cut into the material. This is great for making dados or engraving graphics.
FAQs & Fun Facts
Making things fit together (Tolerance)
- If you are cutting out parts using the laser cutter, getting them to line up/fit snug together/make perfect angles is tough. Here are some things to think about when designing a part.
Plastics
- The diameter of the laser is about 1/100 inch, however some plastic will melt in the process of cutting (some cuts will appear wider than 1/100 inch as a result). Color can be a factor: because of the nature of light, white acrylic takes longer to cut than black acrylic (this is because white reflects a good amount of light from the laser while black absorbs most of it– the more a material absorbs, the hotter it gets). For most applications these things won’t matter, but if a tolerance of above 1/16 inch is necessary, you should ask for a test cut with your material to make sure things go as planned.
VINYL & PVC WILL CREATE CHLORINE GASS WHICH WAS USED IN WWI AS A CHEMICAL WEAPON!
Laser Drag and Material Thickness
- The laser doesn’t cut through a material instantly. It takes a few milliseconds to get through a piece. The thicker the piece, the longer it will take. There is an effect called drag which can be seen on most laser cut pieces: since the top of the material gets cut first, the laser will spend more time cutting the top, producing a slight slope on the side of the piece. It is impossible to account for with the laser, so some hand-finishing may be required if a perfect 90 degree angle is desired.
- The slope will be more extreme with a thicker piece of material. For this reason we usually do not cut anything thicker than 3/8 inch (although it is possible and you should still inquire about it).
Slots and Tabs (are tricky)
- If your parts are designed to be assembled using a slot/tab system, make a few test cuts first. Common problems with slots/tabs:
- Shearing - If your slots and tabs are the exact same width and you try to jam two pieces together, they might snap. Especially if they are made of acrylic.
- Material variance - Every sheet of plywood/acrylic/cardboard/etc. is slightly different. A perfect set of slots and tabs on one sheet might not translate well on another sheet. When possible, run test cuts on the same sheet(s) you’ll be using for your parts.
- Drag - Sloping sides can affect how well two pieces fit together. It is essential to do test cuts for thick materials (larger than 1/4 inch).
Living Hinges
- I have a small library of living hinges, please see me for more info.
File Preparation Checklist
Use Template
Units: inches
Within X and Y bounds for machine
Within Z bounds, usually 0”-6” cutter depending.
Join Vectors.
Check for duplicate lines.
Create Layers.
Assign Vectors to layers.
Export or Print to CAM.
Layer Naming Convention
- CUT (Red)
- ENGRAVE (Blue)
- RASTER (Black)
Machine Preparation Checklist
Never clean any optic right after engraving or cutting because the optic may be hot and the cool lens cleaning solution may thermally shock the optic and crack it.
A visual inspection of the #2 and #3 mirrors, beam window and focus lens should be performed at least once a day before any job processing:
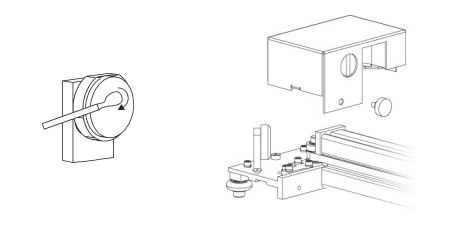
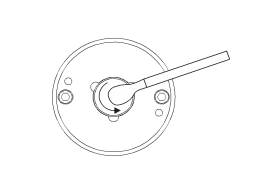
Inspect the #2 mirror and clean it only if there is debris present.
To clean the #2 mirror with a cotton swab, moisten the cotton swab with the lens cleaning solution supplied with the laser system. Do not use other types of cleaners or solutions. Gently roll the cotton swab across the mirror once. Do not drag the swab or roll it back and forth as this can scratch the mirror. If the mirror did not come clean, use a fresh cotton swab and repeat the procedure.
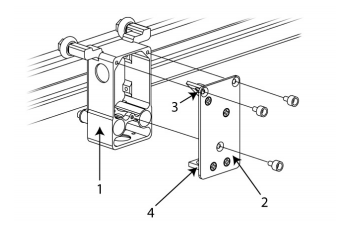
Inspect the #3 Mirror and Focus Lens 1 and clean it only if there is debris present.
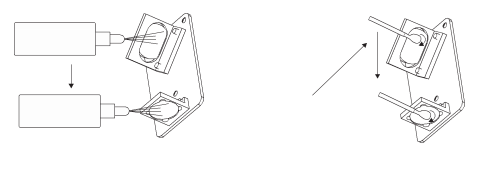
Flood the reflective surface of the #3 mirror with the solution. If heavy debris is present, let the solution soak in for a minute.
Roll a fresh cotton swab across the mirror in one direction. Use a fresh swab for each pass. Be gentle when cleaning the optic to avoid scratching the surface. Repeat this procedure for the focus lens, but make sure you clean both sides of the lens.
The beam window or collimator is where the laser beam enters into the processing area. It is located in the upper left hand corner of the engraving area against the back wall and is yellow in color. It is only necessary to clean the front side of the beam window. Do not remove the optic to clean it; simply clean it in the same manner as the #2 mirror.
Guides & Documents
None as I haven’t been around one in a while and the only copy I ever got was paper. Looks like docs are not quick to find, but I only spent 15 sec.
Weekly Checklist
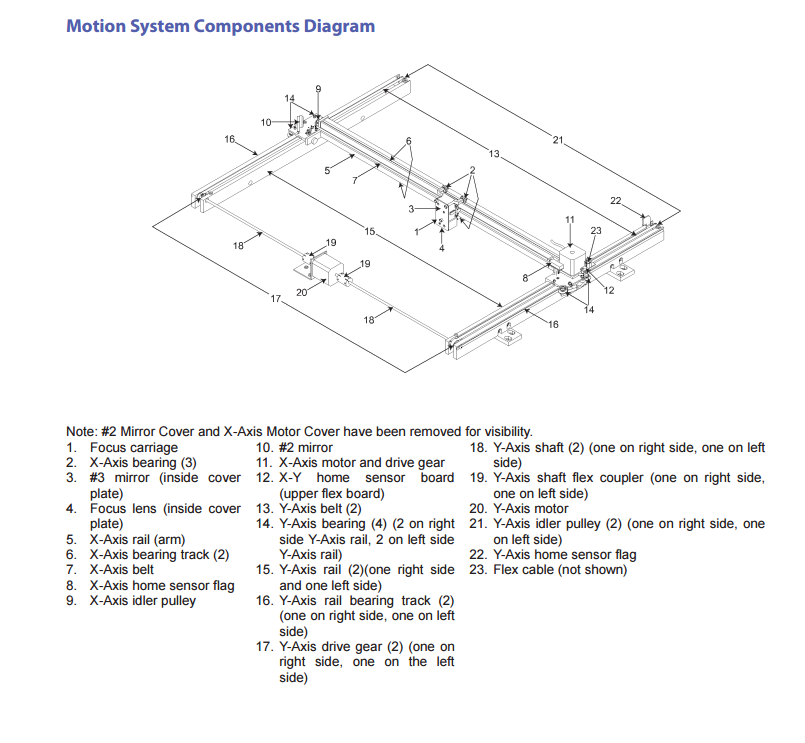
Clean X-Axis and Y-Axis bearings
Clean X-Axis and Y-Axis and bearing tracks
Clean X-Axis belt
Clean debris from under bed.
Notes
- Belts needed consistent tensioning.
- Time to cut calculations not perfect.
- Filter replaced every 6 mo.
- Tube replaced after 5 years and massive power loss.
- CAM software allows you to click and preview location of line with actual optical head movement and marker laser.
- Cuts Jello and Petri Agar. Recommended to not cutting anything for consumption on a machine that is not for food only.